My Card Designing Process
Learn how I design my handmade greeting cards and the thought process behind each one.
Here are my steps!
First I usually see if any papers or patterns inspire me
After I prepare the card base, I take a look at my available stationary. Texture in my cards are really important!
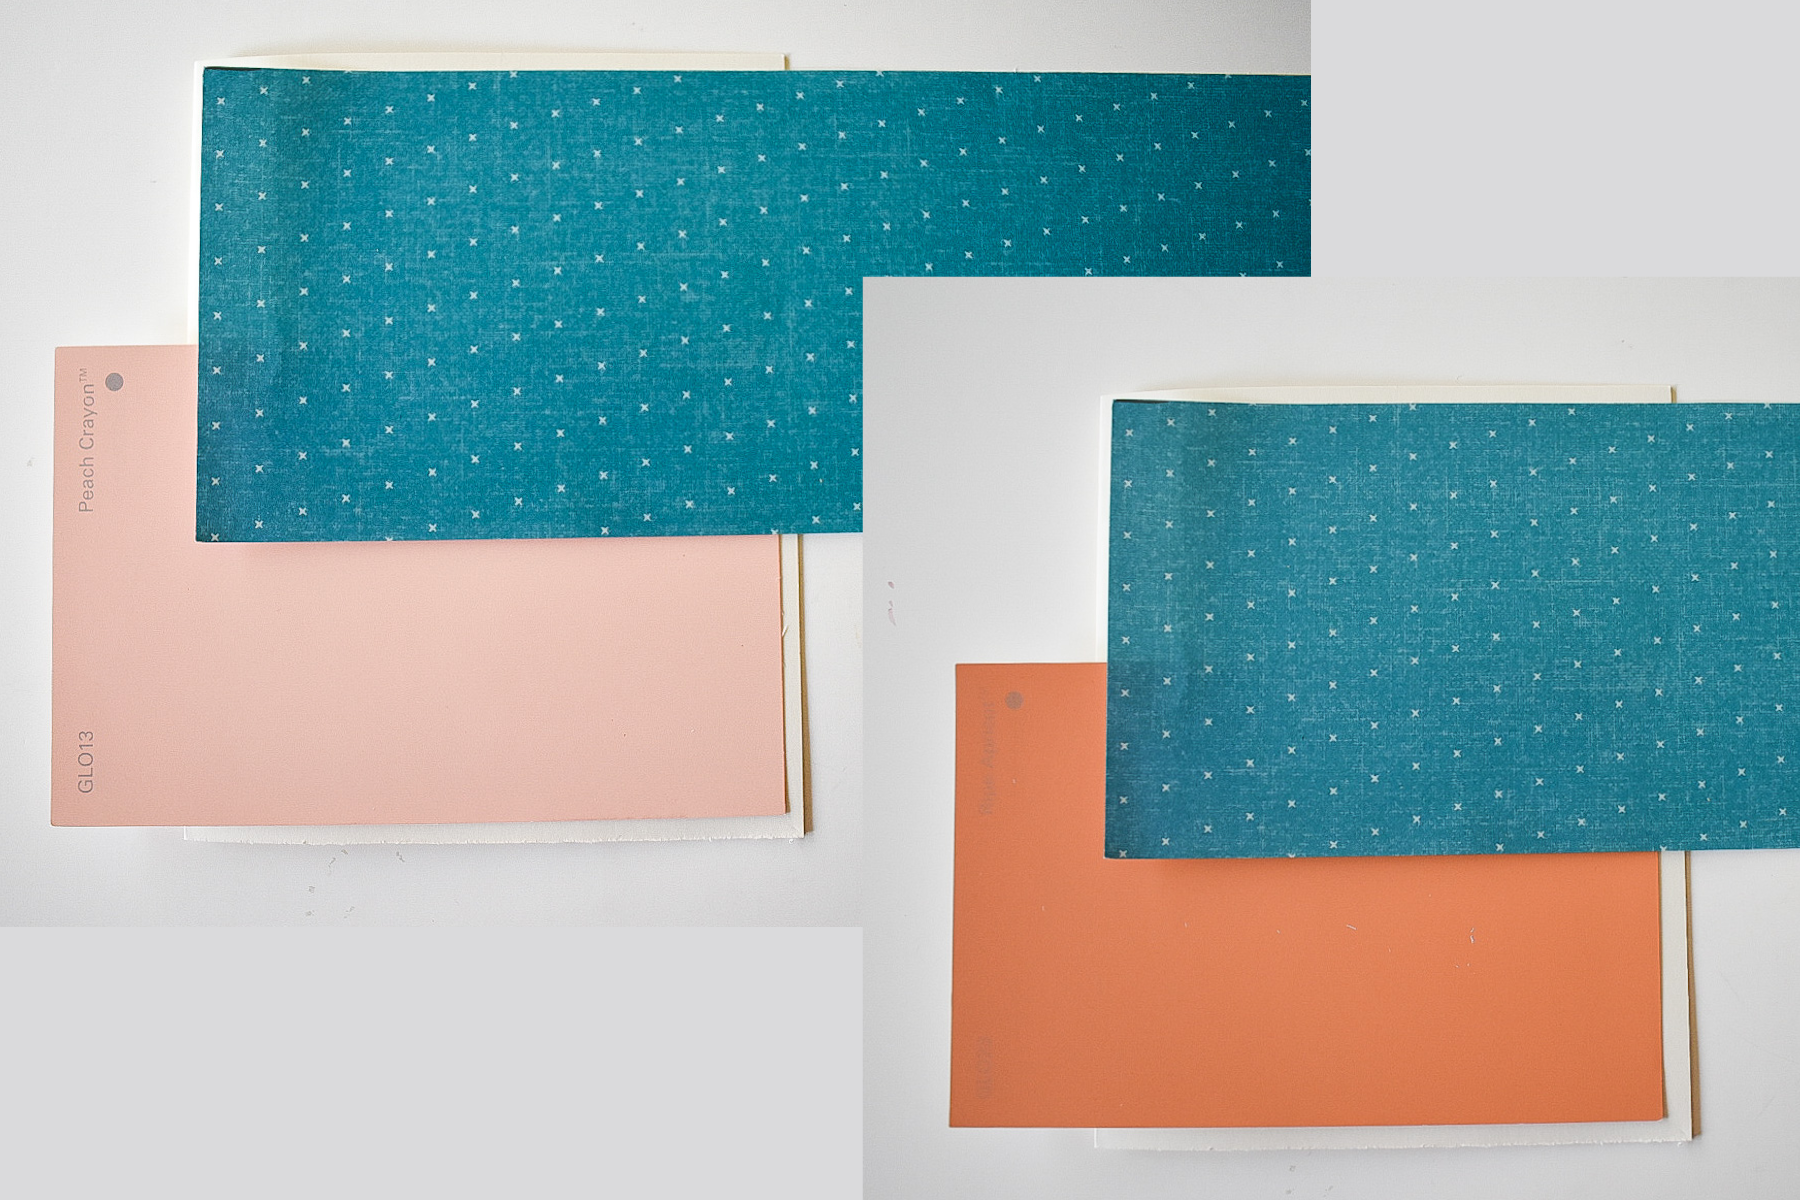
After choosing my patterned paper, I test it out with different solid-colored paper to find something to complement it.
Anything could be material— these are old paint swatches you could get at Home Improvement stores. They work perfectly to find an array of shades!
Next, cut the paper to size and test out the layout on the cardstock
I decided to go with this peachy color because it complemented the blue better. I’m big on the color palette in my designs!
Choose and stamp a flower on white paper
At this step, I look for different stamps that could work and I slowly decide the vibe of the card. Will it be elegant? Fun? Both?
I stamp two different colored flowers and test it out on top of the background
I decided to go with the darker guava color since it matched the peachy paper better.
Next, I use my color pencils to start coloring in the flower
Coloring in your stamps makes such a big difference because it gives your card much more dimension.
After the finishing touches on the flower, I cut it out
This is the most tedious part but it’s worth it! I leave a bit of a white outline around the flower to make it stand out more when it’s on the card.
Start testing out the final layout of the card
After all the components of the card are almost done, I like to see what it looks like all together before committing. Ribbons always add an extra touch of elegance!
Tape down the background papers and ribbon
Commitment time! I use double-sided tape to adhere the pieces to the card. Here I’m testing out the flower placement as well. I added an additional leaf to fill up the empty space.
Write the words in pencil and trace with a white gel pen
After adhering the flower, it’s time for final touches! It’s always good to have different options to write with. I was contemplating between using a white or gold pen but the white pops out more!
Claiming my work!
After we’re all done, I stamp my special Jessika stamp on the back of the card.
The final product!
As you can see, my design process includes a lot of testing different things (colors, patterns, placement, etc.) for each card. Creating a new card design can take me anywhere between 30 minutes to 3 hours, but it’s always fun to see what I can come up with. This is a therapeutic time for me where I jam to music and just create. Sometimes, I even like to video call my friends as I’m making cards to catch up and also get their feedback. The card designing process can be harder than you think, but as long as you’re willing to put in the time and effort, you can do it too! Good luck!


